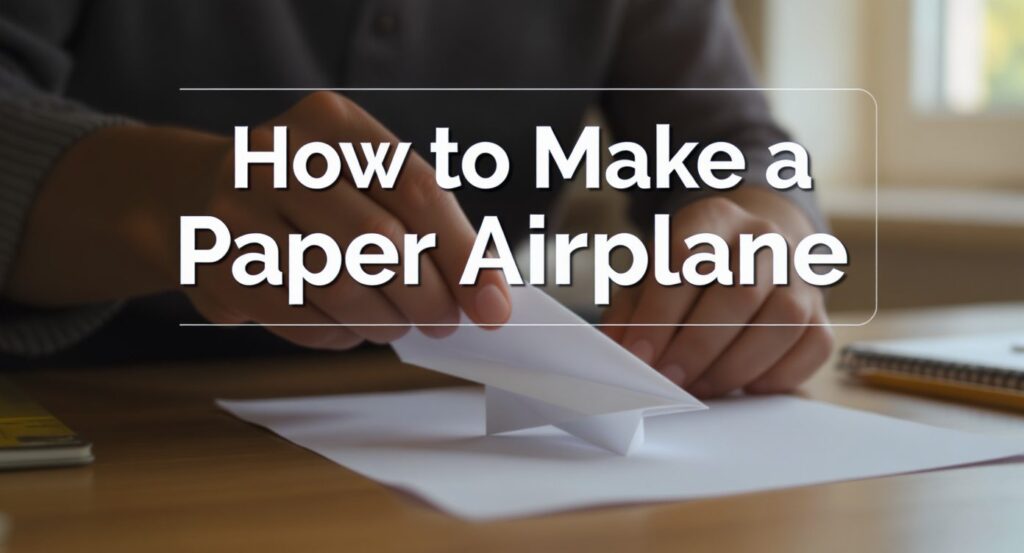
Hey there, fellow paper crafter! Remember those lazy afternoons as a kid, folding scraps of paper into shapes that you’d launch across the room, hoping they’d soar like eagles? I sure do. Back in my school days, I’d spend recess perfecting my throws, only to watch my creations nosedive into the dirt. It was frustrating, but those failures taught me a ton about what really works. If you’re here because you’ve tried making paper airplanes and ended up with duds that barely glide, you’re not alone. Today, we’re tackling “how to make a paper airplane” head-on, steering clear of those common pitfalls that waste your time and paper.
Whether you’re a parent bonding with kids or just looking for a quick, fun project, this guide will help you craft flyers that actually perform. Let’s get into it and turn those flops into flights.
Why Bother Learning How to Make a Paper Airplane?
Before we jump into the folds, let’s talk about why this simple activity packs such a punch. It’s not just child’s play—though it totally is for many of us. Think about it: in a world full of screens, folding a paper airplane brings back that hands-on joy. I’ve seen it spark creativity in my own family gatherings, where everyone from toddlers to grandparents competes to see whose design goes the farthest. But here’s the kicker—getting it wrong can lead to disappointment, crumpled paper everywhere, and that nagging feeling of “why didn’t it work?”
That’s where avoiding costly mistakes comes in. “Costly” might sound dramatic for something as cheap as paper, but think about the time you lose fiddling with flawed designs or the frustration when your plane crashes immediately. By focusing on proven techniques, you’ll save resources and build confidence. Plus, mastering how to make a good paper airplane can even teach basic aerodynamics principles, like lift and drag, without needing a textbook. If you’ve ever wondered how to make a paper airplane that flies far, stick around—we’ll cover that and more, making sure your efforts pay off right away.
The Essentials: Materials and Prep for How to Make a Paper Airplane
Starting with the right stuff is key to success. I learned this the hard way when I grabbed the first sheet I found—a flimsy notebook page—and watched my plane flop like a wet noodle. To avoid that, let’s break down what you need.
Choosing the Best Paper
Not all paper is created equal for this craft. Standard printer paper (8.5 x 11 inches, around 20-24 lb weight) is your go-to for beginners. It’s sturdy enough to hold folds but light for flight. If you’re aiming for how to make a really good paper airplane, try construction paper for added durability, though it might not glide as smoothly. Avoid cardstock—it’s too thick and heavy, leading to planes that drop like stones.
Pro tip: Recycle old office memos or junk mail. It’s eco-friendly and gives your project a personal touch. I once used a colorful flyer from a local event, and the vibrant design made the airplane feel special, even if it didn’t break records.
Tools You’ll Want on Hand
You don’t need much beyond your hands, but a flat surface helps for precise creases. A ruler can ensure straight folds, especially for advanced designs. And if you’re teaching kids how to make a simple paper airplane, scissors might come in handy for trimming edges, though most designs don’t require them.
One mistake I see often? Rushing without a clean workspace. Clear the clutter to focus, and you’ll dodge uneven folds that ruin balance.
Step-by-Step: How to Make a Simple Paper Airplane
Alright, let’s get folding. This classic dart design is perfect if you’re searching for how to make a paper airplane easy. It’s quick, forgiving, and flies straight with minimal tweaks. Follow these steps, and you’ll have a reliable flyer in minutes.
- Start with your paper landscape-oriented (long side horizontal). Fold it in half lengthwise, crease sharply, then unfold. This creates a center line.
- Fold the top corners down to meet the center crease, forming a point at the top. Press firmly—soft creases lead to wobbly flights, a costly mistake I’ve made plenty of times.
- Fold the new top edges down again to the center, sharpening that nose for better aerodynamics.
- Fold the entire plane in half along the center line, with the pointed end out.
- Now, create the wings: Fold each side down about an inch from the center fold, parallel to the bottom edge.
- Add winglets by folding up the tips of the wings slightly. This stabilizes the flight.
Launch it gently from shoulder height, and watch it glide. If it veers left or right, adjust the wing angles. Simple, right? This is your foundation for how to make a paper airplane that anyone can master without frustration.
I remember showing this to my nephew during a rainy day indoors. He was bummed about not playing outside, but once his plane sailed across the living room, his face lit up. Moments like that remind me why these little projects matter—they build skills and create memories.
Leveling Up: How to Make a Good Paper Airplane That Flies Far
If the basic dart isn’t cutting it, let’s amp things up. For how to make a paper airplane that flies far, focus on designs that prioritize distance, like the Nakamura Lock or a modified glider. These incorporate better weight distribution and wing shapes to combat drag.
Understanding Aerodynamics Basics
Quick science detour: Paper airplanes rely on four forces—thrust (your throw), lift (from wings), drag (air resistance), and gravity. To maximize distance, minimize drag with smooth folds and balance weight forward. I’ve experimented endlessly, and trust me, ignoring this leads to short, sad flights.
Detailed Guide to a Far-Flying Design
Here’s a step-by-step for a glider-style plane:
- Begin like the simple version: Fold in half lengthwise, unfold.
- Fold top corners to center, then fold the top down about an inch below the points.
- Fold the points down again, tucking them under the flap for a locked nose—hence “Nakamura Lock.” This adds stability.
- Fold in half, then create wide wings by folding down each side, leaving a body about 1-2 inches wide.
- Add dihedral by slightly bending wings up—this counters rolling.
- For extra distance, tape a paperclip to the nose for weight, but don’t overdo it or it’ll nosedive.
Test outdoors on a calm day. Aim for a gentle upward throw. In my backyard trials, this design easily hit 50 feet, far outpacing basics. If yours stalls, check for symmetry—uneven wings are a common culprit.
Addressing a pain point: Wind can wreck even the best planes. Practice indoors first to perfect your technique before braving the elements.
Variations: How to Make a Paper Airplane Jet
Want something speedy and sleek? Let’s tackle how to make a paper airplane jet. This design mimics fighter jets with pointed wings and a streamlined body, ideal for fast, straight flights.
Why Go Jet-Style?
Jets appeal to those craving action. They’re great for competitions or impressing friends. I built one for a office challenge once, and it zipped past everyone else’s, earning me bragging rights.
Folding Instructions
- Paper landscape. Fold top right corner to bottom left, crease, unfold. Repeat top left to bottom right for an X.
- Fold top to bottom center of X, crease.
- Fold sides to center, forming a diamond.
- Fold bottom up to meet top points.
- Fold in half vertically.
- Create jet wings: Fold down narrow, swept-back wings.
- Add fins by folding small tabs on the back.
This flies fast but might not glide long. Adjust throws for speed over distance. If it spins, straighten the body crease.
Common Mistakes and How to Fix Them in How to Make a Paper Airplane
No guide on how to make a paper airplane would be complete without troubleshooting. We’ve all been there—excited folds leading to epic fails. Here’s how to sidestep those.
Mistake 1: Poor Creases
Soft folds mean unstable structures. Solution: Use your nail or a ruler for sharp edges. I overlooked this early on, and my planes always crumpled mid-air.
Mistake 2: Imbalanced Design
If it veers, check symmetry. Measure folds equally. A quick fix: Unfold and redo.
Mistake 3: Wrong Paper or Throw
Heavy paper sinks; too light tears. And overthrowing causes stalls. Gentle launches work best.
Mistake 4: Ignoring Environment
Drafts indoors or gusts outside ruin flights. Test in still air.
By dodging these, you’ll save paper and sanity. Think of it as investing in fun—each tweak gets you closer to perfection.
Fun Twists: Customizing Your Paper Airplane
Once you’ve nailed the basics, get creative. Decorate with markers for personality—I drew shark faces on mine as a kid, making flights feel adventurous.
Try team themes for how to make a really good paper airplane contest. Or scale up with larger paper for bigger glides.
For families, turn it into a game: Who can make a paper airplane easy enough for everyone? It builds bonds and skills like patience.
The Science Behind Successful Flights
Diving deeper, let’s chat physics. Lift comes from air flowing faster over curved wings (Bernoulli’s principle). For how to make a paper airplane that flies far, optimize the wing camber.
Experiments show adding flaps increases control. I tested this in my garage, adjusting angles and measuring distances—it turned guesswork into strategy.
Teaching Others: Sharing How to Make a Paper Airplane
Passing it on is rewarding. Start with kids using how to make a simple paper airplane. Be patient; their small hands might struggle, but encouragement goes far.
For adults, frame it as stress relief. I’ve shared tips at parties, watching skeptics become enthusiasts.
Advanced Tips for How to Make a Really Good Paper Airplane
For pros, try origami-inspired designs like the Swallow. It involves more folds but rewards with loops and tricks.
Use apps to track flights, or join online communities sharing how to make a good paper airplane variations.
Wrapping Up Your Paper Airplane Journey
There you have it—a comprehensive take on how to make a paper airplane, from basics to jets, avoiding those pesky mistakes. Whether it’s a quick dart or a far-flying glider, the key is practice and precision. Next time you fold, think of that kid in you, eager for takeoff. Grab some paper, give it a go, and share your successes in the comments. What’s your favorite design?